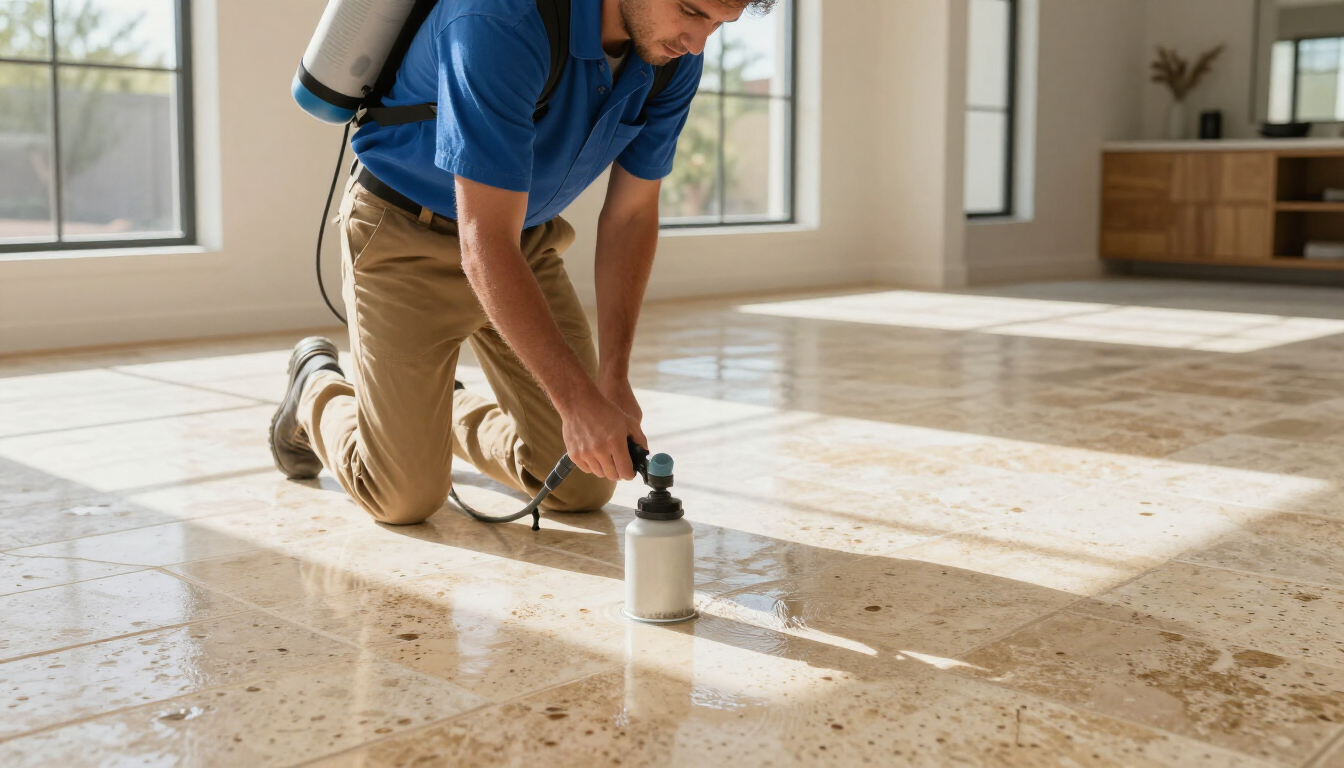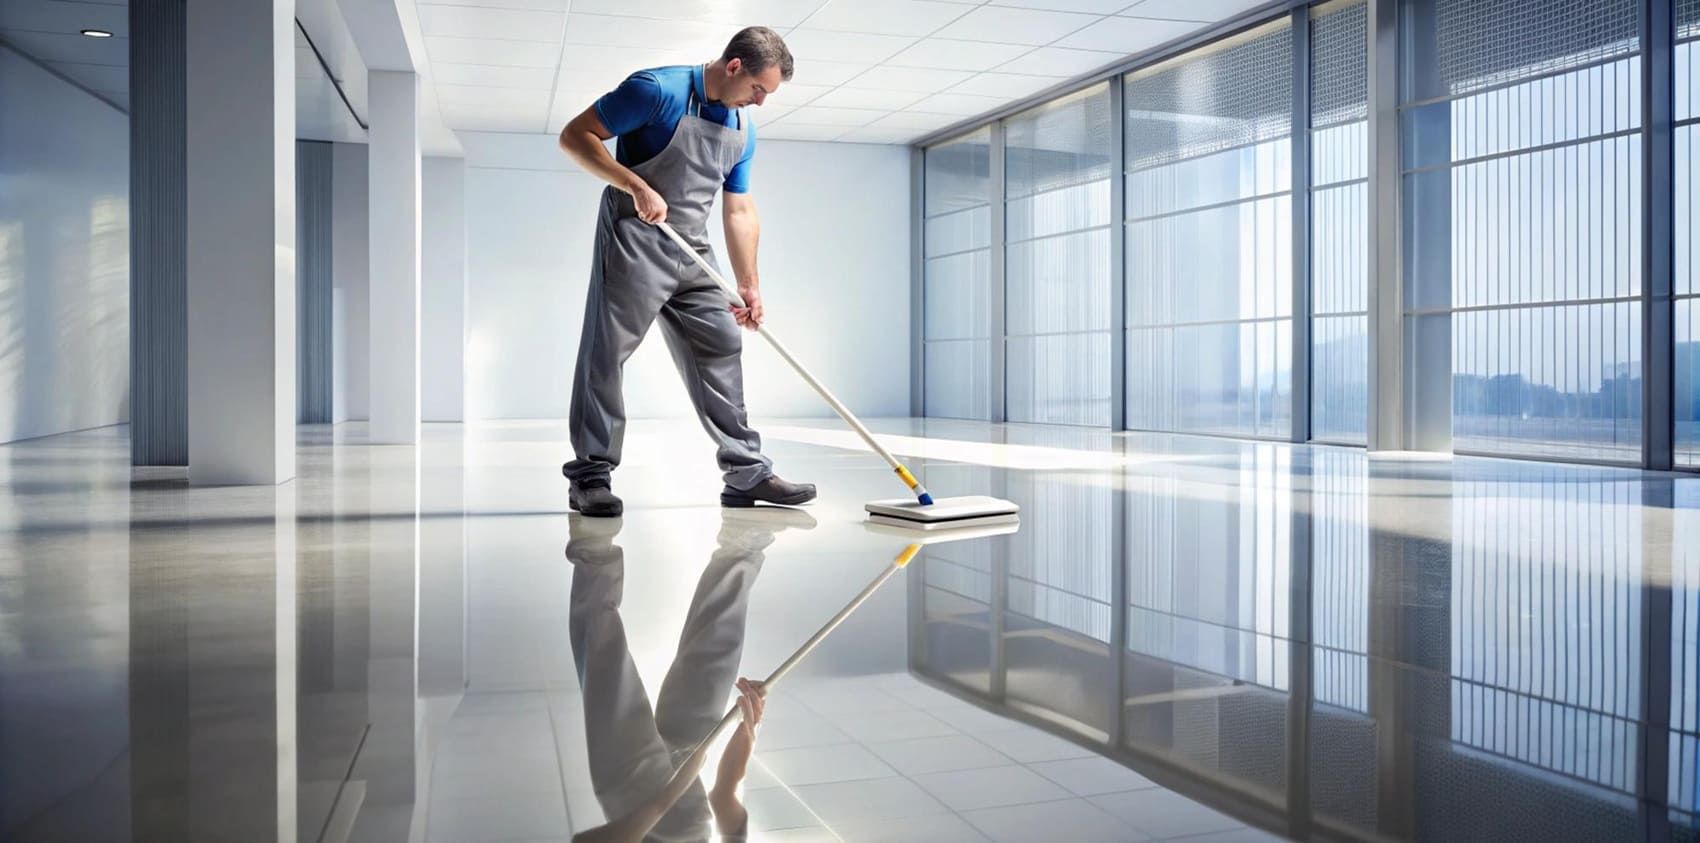
ARIZONA'S BEST STONE, TILE, AND GROUT CLEANING SERVICES
Can You Restore Cracked or Chipped Tiles?
Tile floors and walls add a touch of elegance and durability to any space, making them a popular choice for both residential and commercial settings. However, over time and with regular use, tiles can start to exhibit signs of wear and tear, leading to an unsightly appearance and potential safety hazards. Cracked or chipped tiles not only detract from the aesthetic appeal of your space but can also pose risks such as tripping or water damage. The good news is that restoring these tiles is possible, and in many cases, you can do it yourself with some basic tools and a bit of patience. In this comprehensive guide, we'll explore how you can effectively restore cracked or chipped tiles, ensuring your space looks as good as new.
Understanding Tile Damage
Before diving into repair techniques, it's crucial to understand the types of damage your tiles might have incurred. Tiles can crack or chip due to a myriad of reasons, including heavy impacts, natural settling of the house, or even temperature fluctuations that cause expansion and contraction. Understanding the root cause of the damage can be instrumental in preventing future issues and in selecting the appropriate repair method. Moreover, different types of tiles—such as ceramic, porcelain, or stone—may react differently to damage, and knowing the material specifics can guide your restoration approach.
Types of Tile Damage
- Cracks: These can range from barely visible hairline cracks to more significant fractures that compromise the tile’s structural integrity. Cracks often occur due to external pressure or direct impact, such as dropping a heavy object on the tile surface. In some cases, cracks may also be a result of improper installation or an unstable substrate beneath the tiles.
- Chips: Chipping usually occurs along the edges of the tile, often resulting from accidental drops of heavy objects or the use of sharp tools directly on the tile surface. Chips can vary in size, and while smaller chips might only affect the tile's appearance, larger ones can lead to further deterioration if not addressed promptly.
- Scratches: While not as severe as cracks or chips, scratches can still detract from the tile's overall appearance. These typically occur on the tile surface due to abrasive materials or sharp objects and, although mostly superficial, may require attention to maintain the tile's aesthetic.
Assessing the Damage
The first step in the restoration process is to assess the extent of the damage. This initial assessment will determine whether you can repair the tile or if it needs replacing. For minor cracks and chips, repair is often possible with a few straightforward techniques, while extensive damage might necessitate a full replacement. By evaluating the severity and location of the damage, you can make informed decisions about the most effective course of action.
When to Repair
- Minor Cracks and Chips: If the damage is superficial and does not compromise the tile's structural integrity, you can likely repair it using simple techniques available in repair kits or with materials such as tile filler or adhesive. Repairing minor damage can be a cost-effective way to maintain the tile's appearance without the need for a full replacement.
- Aesthetic Concerns: If the primary issue is one of appearance, such as discoloration or small surface imperfections, and the tile's structural integrity is intact, repair can be a viable option. Addressing aesthetic concerns can help maintain the overall look of your space and prolong the life of your tiles.
When to Replace
- Structural Damage: If the tile is severely cracked or broken, it may have lost its ability to function as intended, making replacement the only viable option. Structural damage can lead to further complications, such as water leakage or injury, if not addressed in a timely manner.
- Water Damage: Tiles in wet areas, such as bathrooms or kitchens, that have cracked may allow water to seep through, leading to further damage to the underlying substrate or the growth of mold. In such cases, replacing the damaged tile is often necessary to prevent more significant issues down the line.
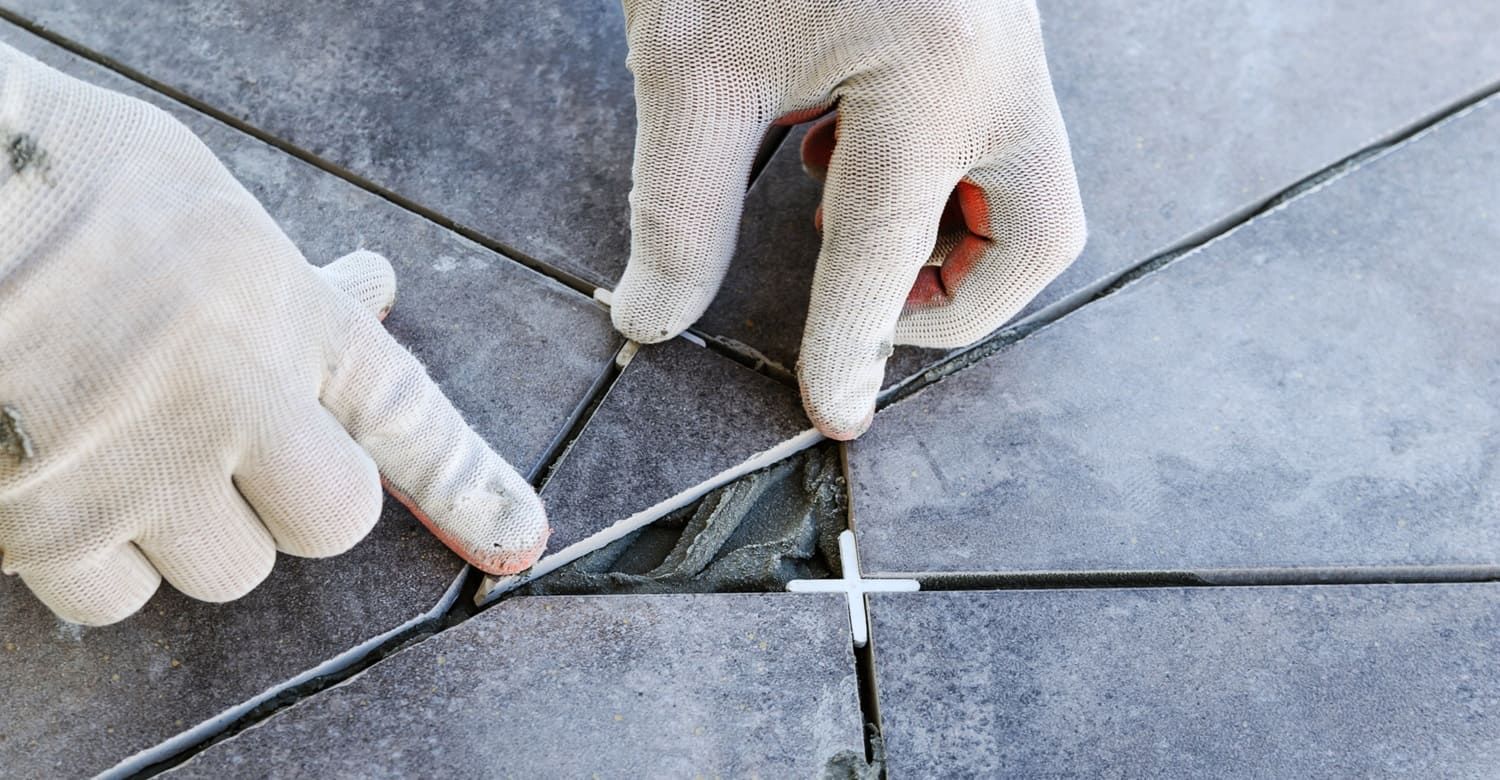
Tools and Materials Needed
To restore your tiles, you'll need a few essential tools and materials. Having the right equipment on hand can make the repair process more efficient and increase the likelihood of a successful outcome. Here's a list to get you started:
- Tile adhesive or epoxy: These materials are essential for bonding and filling cracks or chips in the tile, providing a stable and durable repair.
- Tile filler or repair kit: These kits often include pre-mixed compounds specifically designed to match various tile colors and textures, making them ideal for minor repairs.
- Putty knife: A putty knife is necessary for applying filler or adhesive smoothly and evenly over the damaged area.
- Fine-grit sandpaper: Used for smoothing the repaired area to ensure it is level with the surrounding tiles.
- Clean cloth: Essential for cleaning the tile before and after repair to remove any debris or excess materials.
- Tile sealant (optional): Applying a sealant can protect the repaired area from future damage and is particularly recommended for tiles in high-traffic or wet areas.
Step-by-Step Guide to Repairing Tiles
Step 1: Clean the Tile
Begin by thoroughly cleaning the damaged tile and the surrounding area. Use a clean cloth and a mild detergent to remove any dirt, grease, or debris that could interfere with the repair process. Ensuring the tile is completely dry before proceeding to the next step is crucial, as moisture can prevent the adhesive or filler from bonding properly.
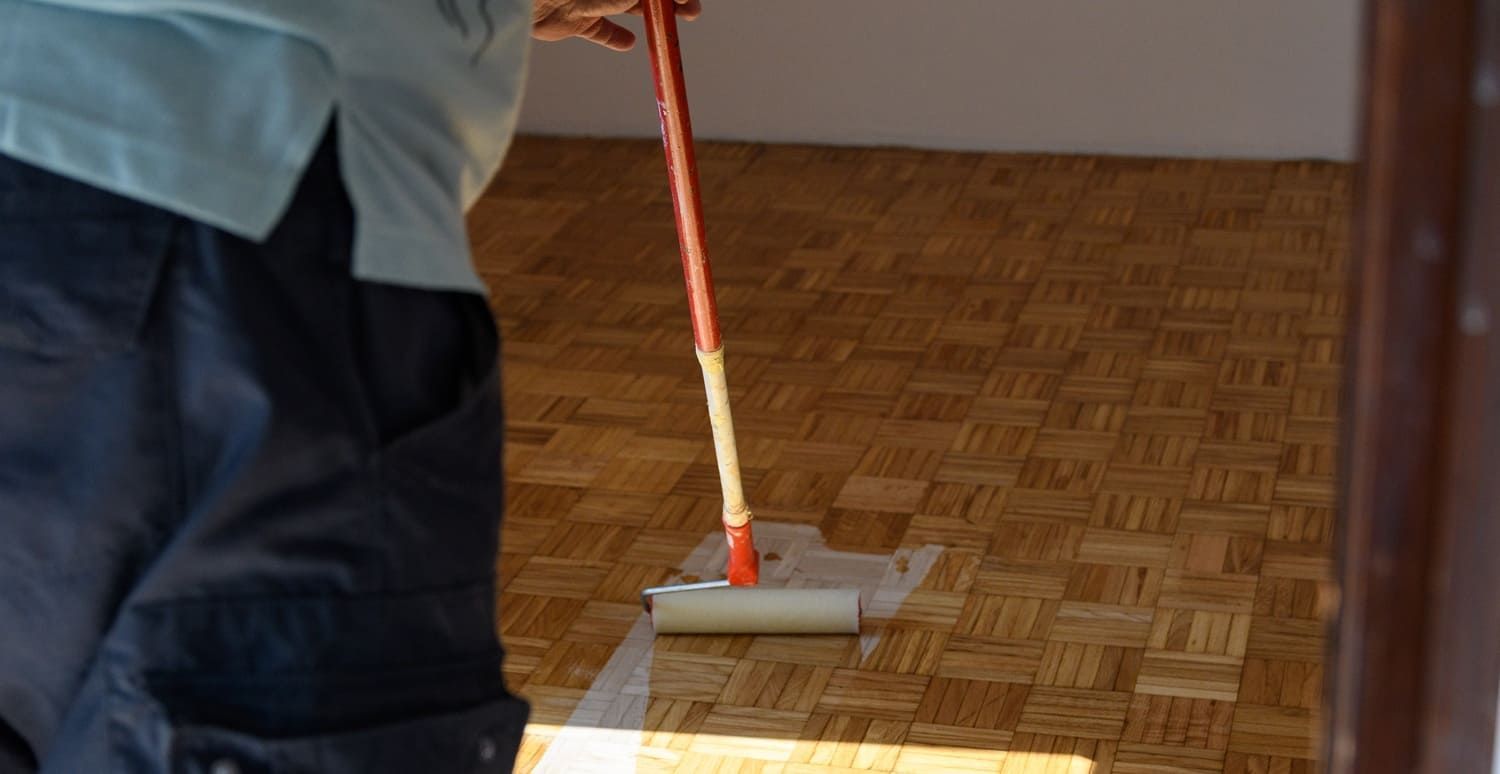
Step 2: Apply Tile Filler
For minor chips and cracks, a tile filler or repair kit can work wonders. Follow the manufacturer's instructions to mix the filler to the appropriate consistency. Use a putty knife to apply the filler carefully to the damaged area, making sure it is level with the tile surface. This step requires patience and precision to ensure a seamless repair that blends with the surrounding tiles.
Step 3: Sand the Surface
Once the filler is dry, use fine-grit sandpaper to smooth the surface of the repair. Sand gently and evenly to avoid scratching the surrounding tiles, and check frequently to ensure the repaired area is level with the rest of the tile. This step is crucial for achieving a seamless repair that is both visually pleasing and durable.
Step 4: Seal the Tile
Sealing the repaired tile helps protect it from future damage and can enhance the longevity of the repair. Apply a tile sealant according to the product instructions, making sure to cover the entire repaired area. This step is optional but highly recommended for tiles in high-traffic or wet areas, where additional protection is beneficial.

Preventing Future Damage
Restoring your tiles is one thing, but preventing future damage is another. Taking proactive measures to protect your tiles can save time and money in the long run. Here are some tips to keep your tiles looking their best:
- Use Rugs or Mats: Place rugs or mats in high-traffic areas to minimize wear and tear on your tiles. This simple addition can significantly reduce the risk of scratching or chipping.
- Avoid Heavy Impacts: Be cautious when moving heavy furniture or objects near tiled surfaces. Using furniture pads or lifting rather than dragging items can help prevent accidental damage.
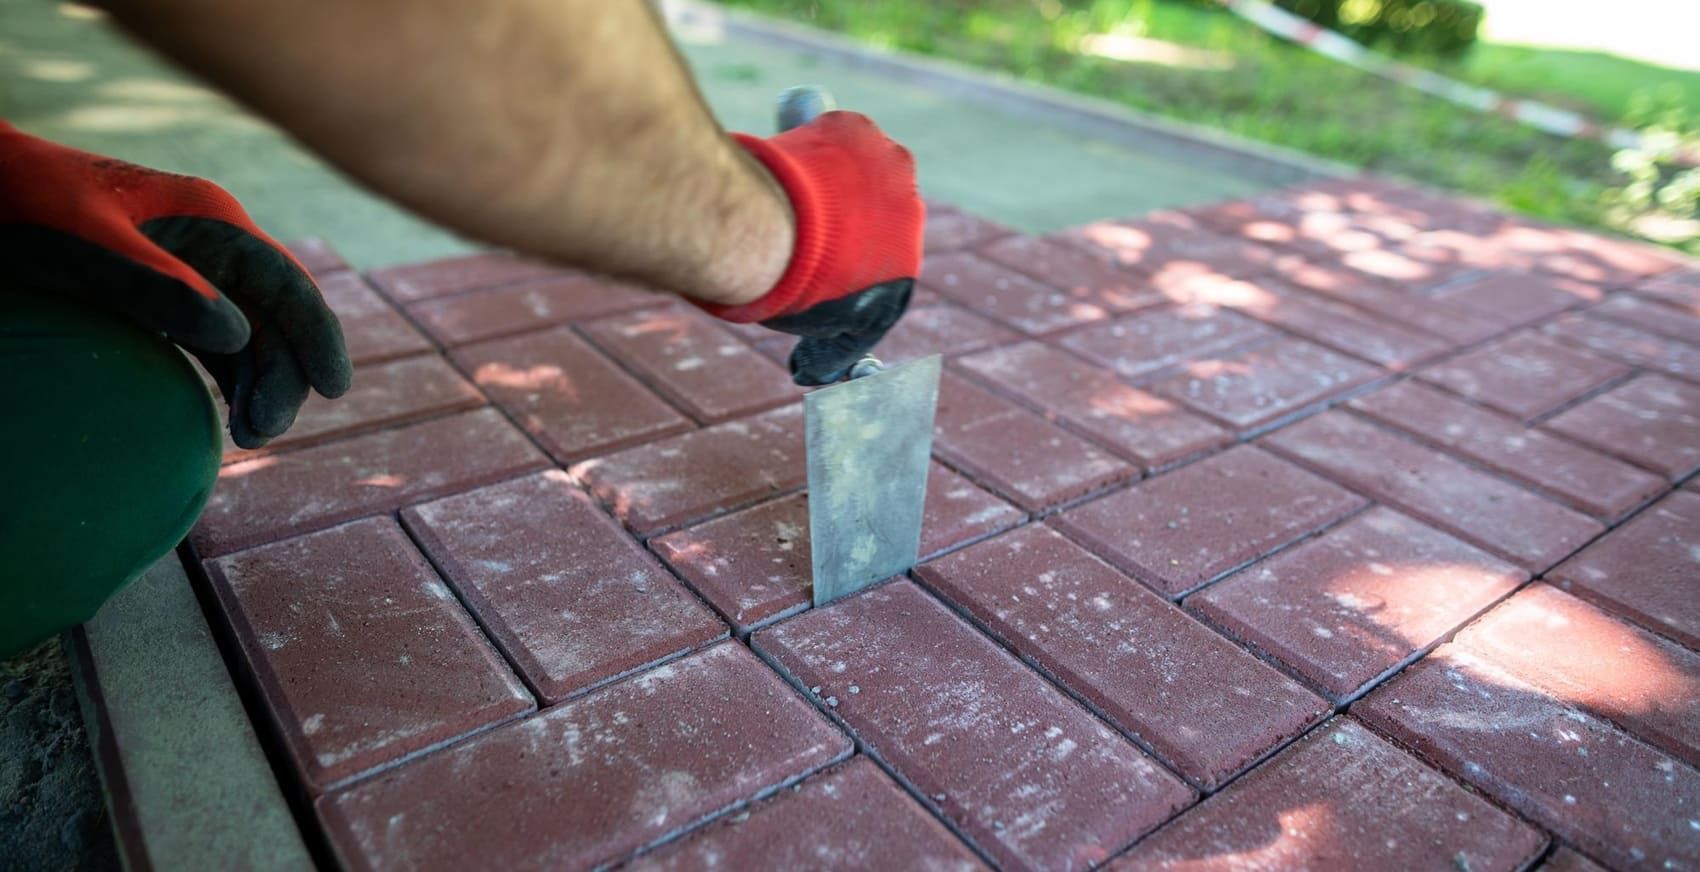
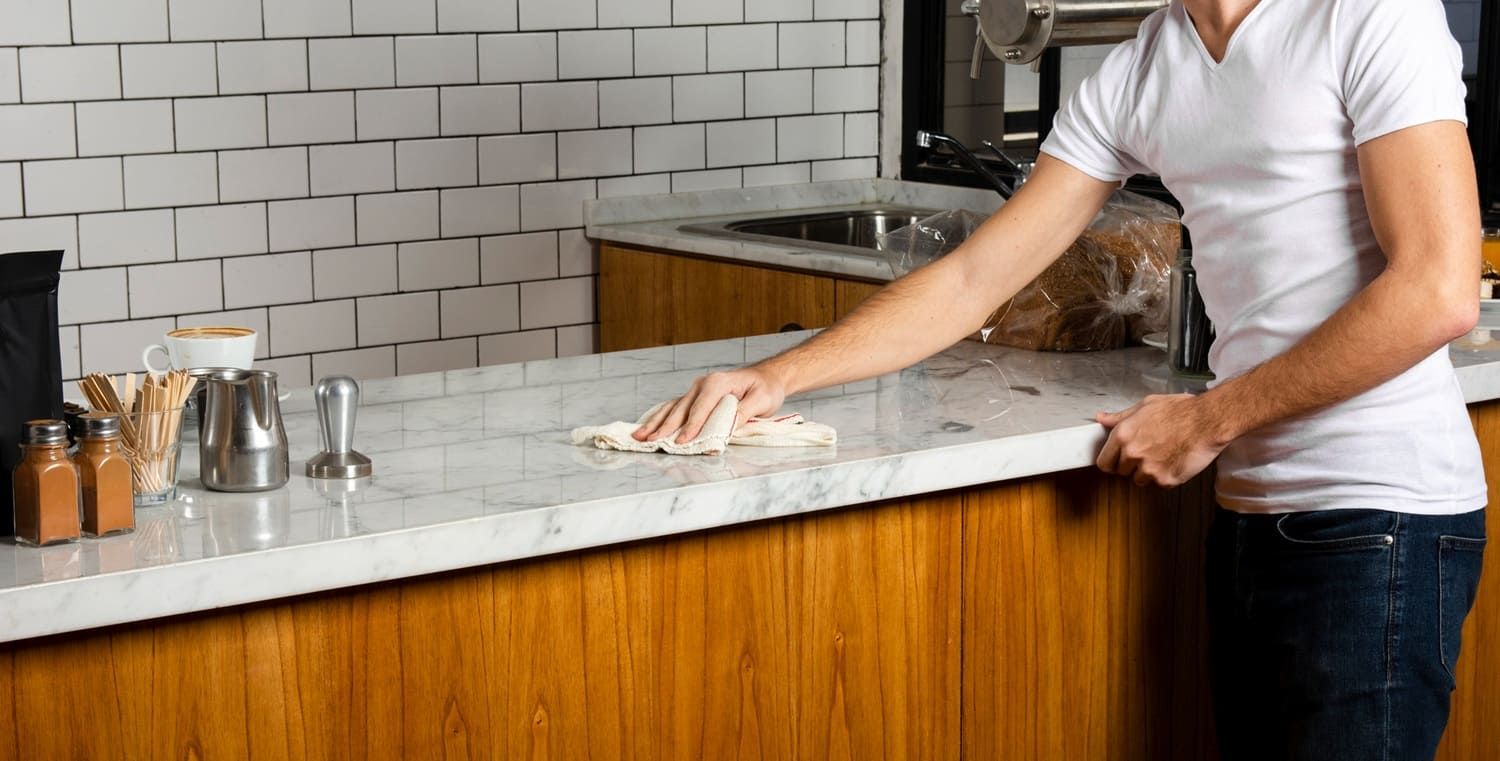
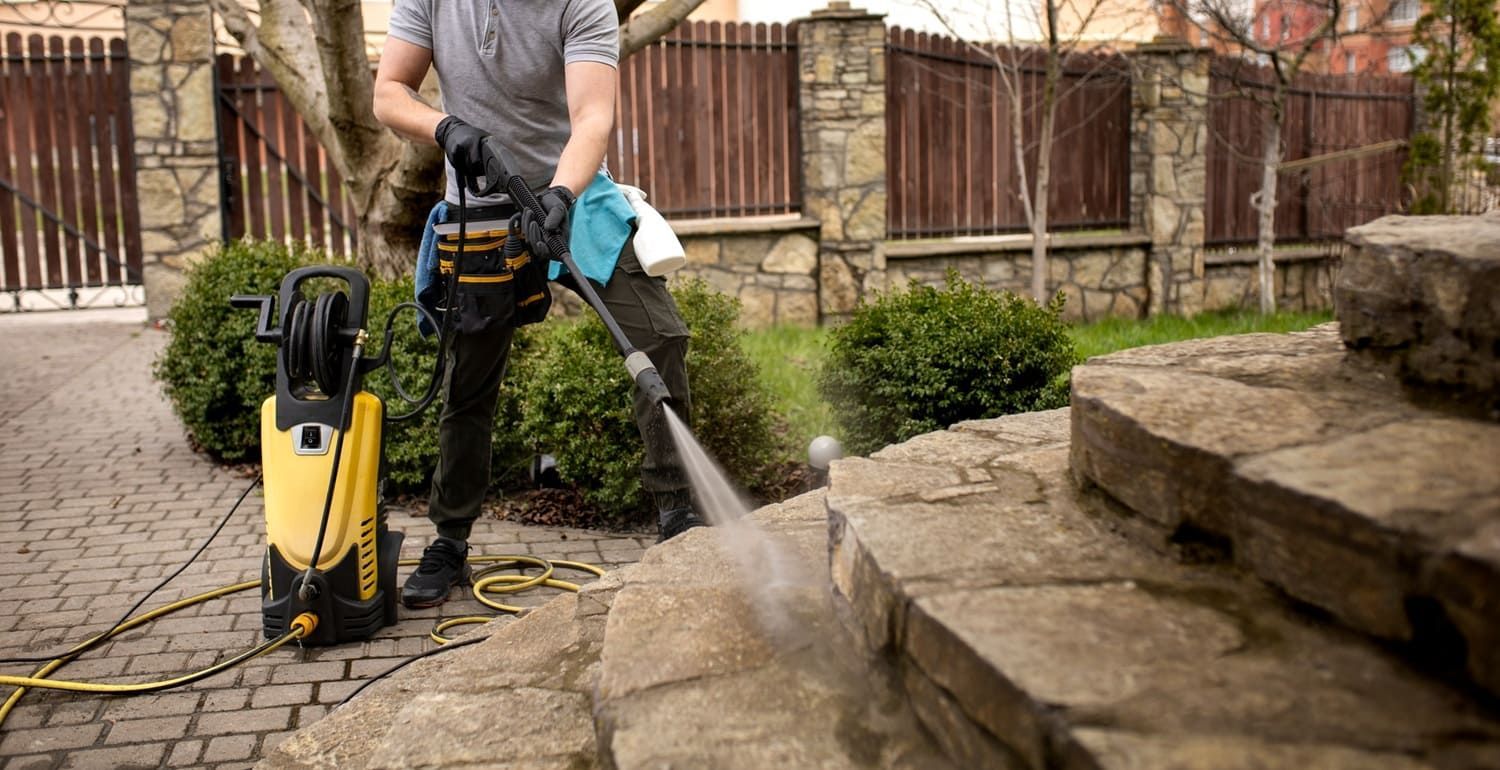
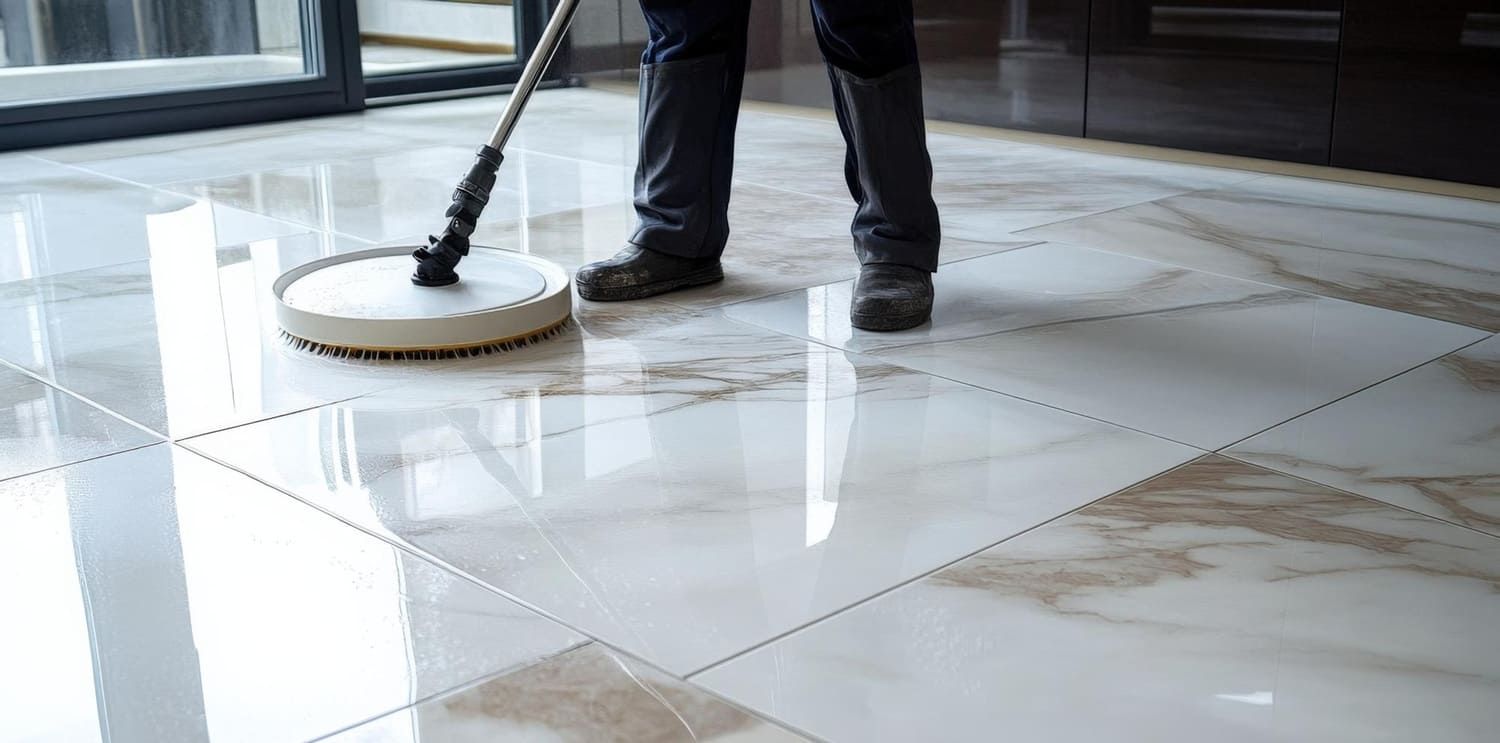
- Regular Cleaning: Keep tiles clean to prevent dirt and debris from causing damage. Regular cleaning with mild detergents can help maintain the tile's appearance and prevent the buildup of grime that can lead to scratches or discoloration.
When to Call a Professional
While many tile repairs are doable as DIY projects, there are times when professional help is warranted. Professional tile repair services have the expertise and tools necessary to handle more complex situations. Consider calling a professional if:
- You're dealing with extensive damage: Severe cracks, multiple broken tiles, or damage spread over a large area may require professional intervention to ensure a thorough and lasting repair.
- The tiles are in a complex pattern or rare material: If your tiles are part of an intricate design or made from rare or expensive materials, professional expertise can prevent further damage during the repair process.
- You lack the time or tools to complete the repair: If you don't have the necessary tools or time to devote to the repair, hiring a professional can save you stress and ensure the job is done correctly.
Conclusion
Restoring cracked or chipped tiles is a practical and cost-effective way to maintain your home's aesthetic appeal and ensure safety. With the right tools and techniques, you can often repair minor damage yourself, preserving both the beauty and functionality of your tiled surfaces. However, don't hesitate to seek professional assistance for more severe issues, as expert intervention can prevent further complications. By taking care of your tiles and addressing damage promptly, you can enjoy beautiful, long-lasting surfaces in your home, enhancing both its appearance and value. For expert tile and stone restoration, trust Desert Tile & Grout Restore—the best in Stone, Tile, and Floor Refinishing & Restoration for Glendale, Scottsdale, Phoenix, and Maricopa County. Contact us today for a free estimate.
Can You Restore Cracked or Chipped Tiles? Answers to Common Questions
Can cracked or chipped tiles actually be restored?
Yes, in many cases cracked or chipped tiles can be repaired rather than replaced. Tile restoration involves filling the damaged area with a durable epoxy or resin that’s color-matched to the original tile, then refinished for a smooth, seamless look.
Is it better to repair or replace a damaged tile?
That depends on the severity of the damage and the tile’s location. Small chips and hairline cracks can often be repaired at a lower cost, while deeply cracked or broken tiles in high-traffic areas may need replacement for durability and safety.
How long does tile repair take?
Most minor tile repairs can be completed in under an hour per tile. However, more extensive damage or delicate tile materials may require additional time for proper curing and finishing.
Will the repaired area match the rest of the tile?
A professional tile restoration service uses color-matched fillers and custom blending techniques to create a virtually invisible repair. While DIY kits exist, expert repairs typically deliver a more seamless, lasting finish.
Can floor tiles be repaired the same way as wall tiles?
Yes, both floor and wall tiles can be repaired using similar methods. However, floor tiles must be repaired with extra care to ensure the finish is strong enough to handle foot traffic without wearing down quickly.
Are certain types of tiles harder to repair than others?
Yes, natural stone tiles like marble or slate can be more difficult to repair due to their unique veining and color variations. Ceramic and porcelain tiles are more commonly repaired with excellent results.
How can I prevent my tiles from cracking in the future?
Proper installation, using flexible grout, and ensuring a stable subfloor are key to preventing tile damage. Also, avoid dropping heavy items on tiled surfaces and seal natural stone regularly to prevent weakening.
Who should I call for professional tile repair and restoration?
Look for a local tile restoration specialist or flooring expert who has experience working with your specific tile type. Ask about their repair methods, warranty options, and whether they offer color-matching services for a seamless finish.
Desert Tile & Grout Restore's Blog