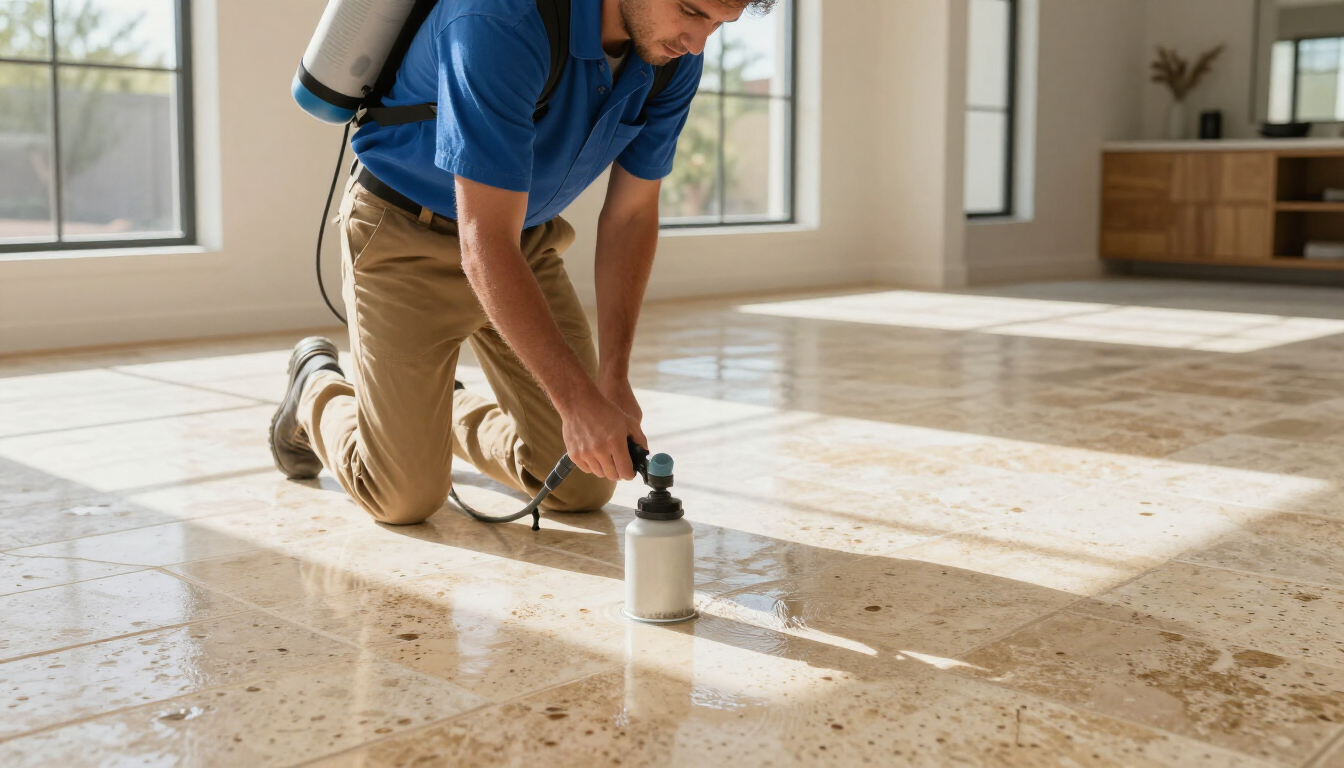
ARIZONA'S BEST STONE, TILE, AND GROUT CLEANING SERVICES
Common Mistakes in DIY Tile Restoration
Tile restoration can be a rewarding DIY project, transforming tired floors or walls into stunning features in your home. It allows homeowners to breathe new life into their living spaces without the need for a full renovation. However, without the right knowledge and preparation, you might encounter several pitfalls along the way. These challenges can range from minor aesthetic issues to major structural problems that could affect the longevity of your work. In this article, we'll explore the most common mistakes in DIY tile restoration and how to avoid them, ensuring your project is a success.
Understanding the Basics of Tile Restoration
Before diving into tile restoration, it's crucial to understand the basics. Tile restoration involves cleaning, repairing, or replacing tiles to restore their original beauty and functionality. This process can vary significantly depending on the type of tiles and the extent of the damage. Depending on the extent of the damage, this can range from a simple clean-up to a complete overhaul. Understanding the scope of your project will help you plan effectively and allocate the necessary resources.
Choosing the Right Tiles
One of the first decisions you'll make is selecting the right tiles for your project. This involves considering both aesthetics and functionality. For example, kitchen tiles may need to be more durable to withstand spills and heat, while bathroom tiles should be water-resistant. Choosing the wrong type of tile can lead to additional work and expenses down the line. It is also important to think about the style and color of the tiles to ensure they complement the overall design of your space. Consulting with professionals or conducting research online can help you make informed decisions about the best type of tiles for your specific needs.
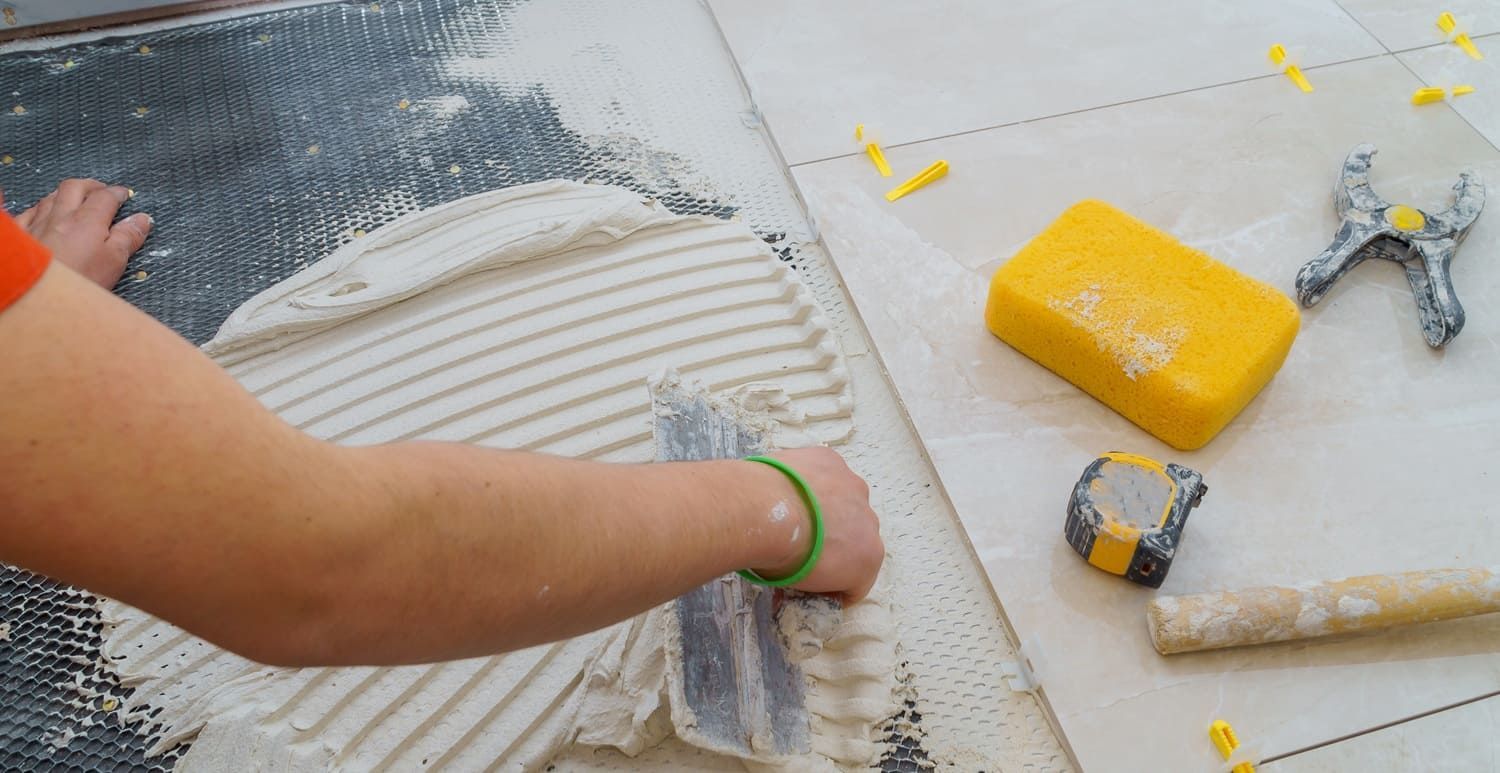
Gathering the Necessary Tools and Materials
Another foundational step is gathering the necessary tools and materials. This includes tile adhesive, grout, a tile cutter, and safety equipment like gloves and goggles. Selecting the best tile adhesive for beginners is crucial as it can make the installation process smoother and more efficient. Additionally, having the right tools on hand can prevent delays and make the project less stressful. Don't forget to include items such as a level, measuring tape, and tile spacers, which are often overlooked but essential for ensuring a professional finish.
Common Mistakes in DIY Tile Restoration
Even with the basics in mind, mistakes can happen. Here are some of the most common DIY tile restoration mistakes and how to avoid them:
Not Preparing the Surface Properly
One of the most frequent errors is neglecting to prepare the surface properly before laying tiles. This can lead to uneven tiles and poor adhesion. Ensure the surface is clean, dry, and level. Remove any old adhesive or grout to create a smooth base for the new tiles. Additionally, check for any structural issues, such as cracks or water damage, that could affect the stability of your tiles. Addressing these problems before you start tiling will help ensure a successful outcome and prevent future complications.
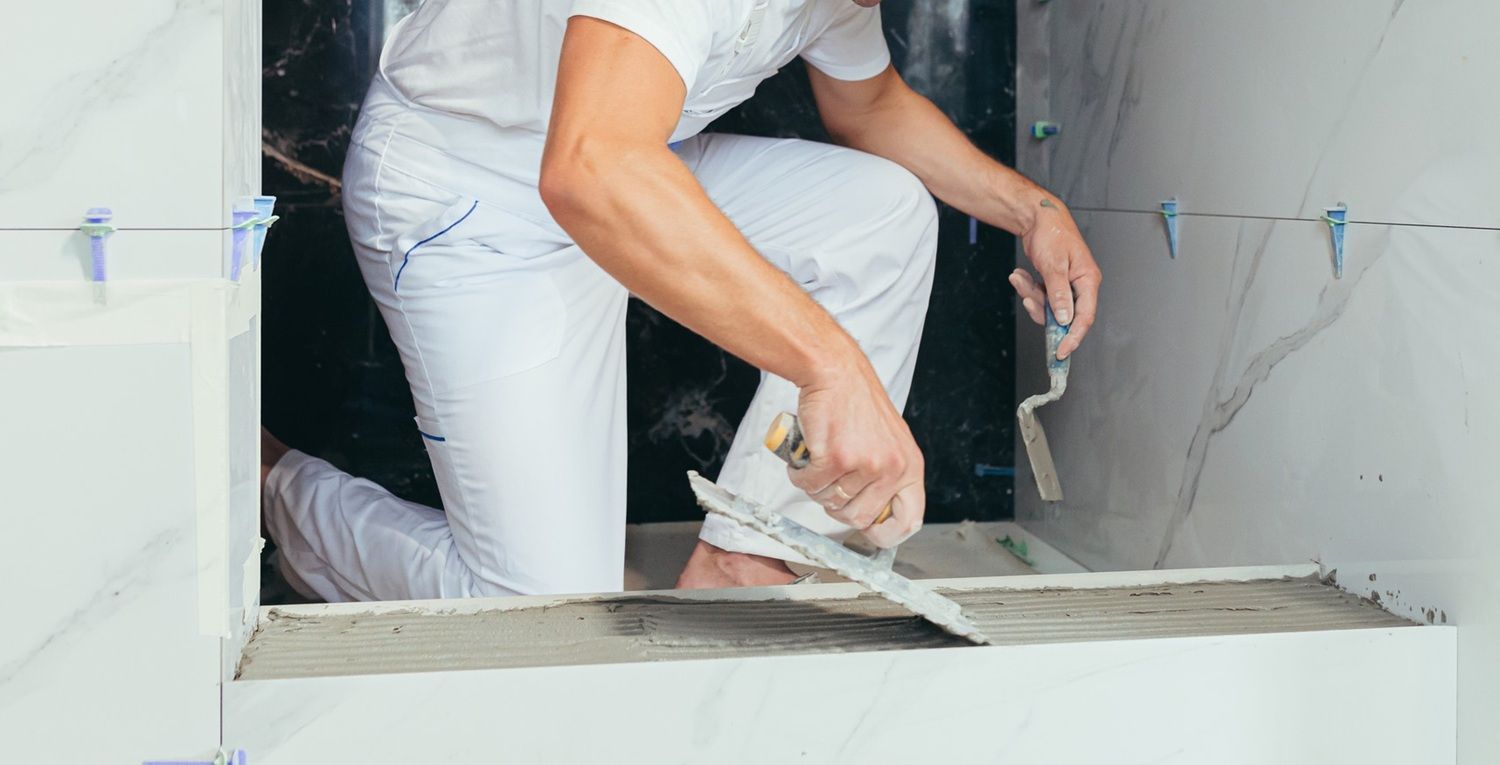
Using the Wrong Adhesive
Selecting the wrong adhesive is another common mistake. The best tile adhesive for beginners is one that suits the type of tile and the environment. For instance, certain adhesives are better for wet areas like bathrooms, while others are designed for high-traffic zones like kitchens. Using an inappropriate adhesive can result in tiles that do not adhere properly, leading to costly repairs down the line. Always read the manufacturer's instructions and seek advice if you're unsure about which adhesive to use for your project.
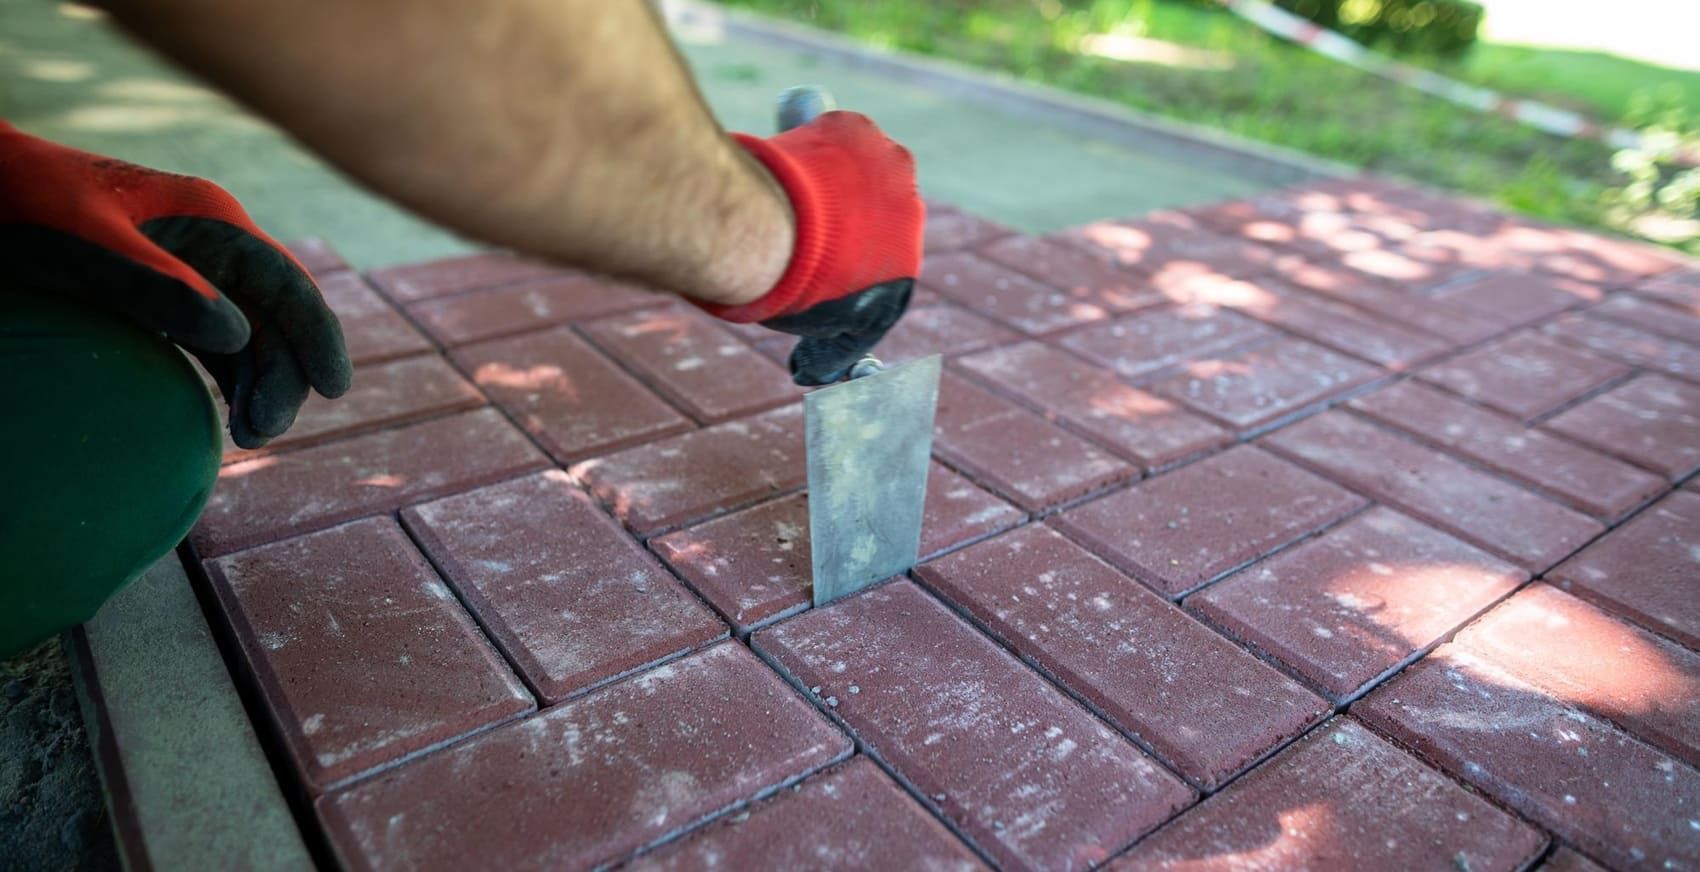
Incorrect Tile Spacing
Proper tile spacing is essential for a professional finish. Failing to use spacers or misjudging the spacing can lead to an uneven appearance and potential alignment issues. Always use tile spacers to maintain consistent gaps between tiles, which allows for even grout lines and prevents future cracking. Misalignment can also compromise the structural integrity of the tiled surface, making it more susceptible to damage. Taking the time to plan and execute precise spacing will pay off in the quality and durability of your finished project.
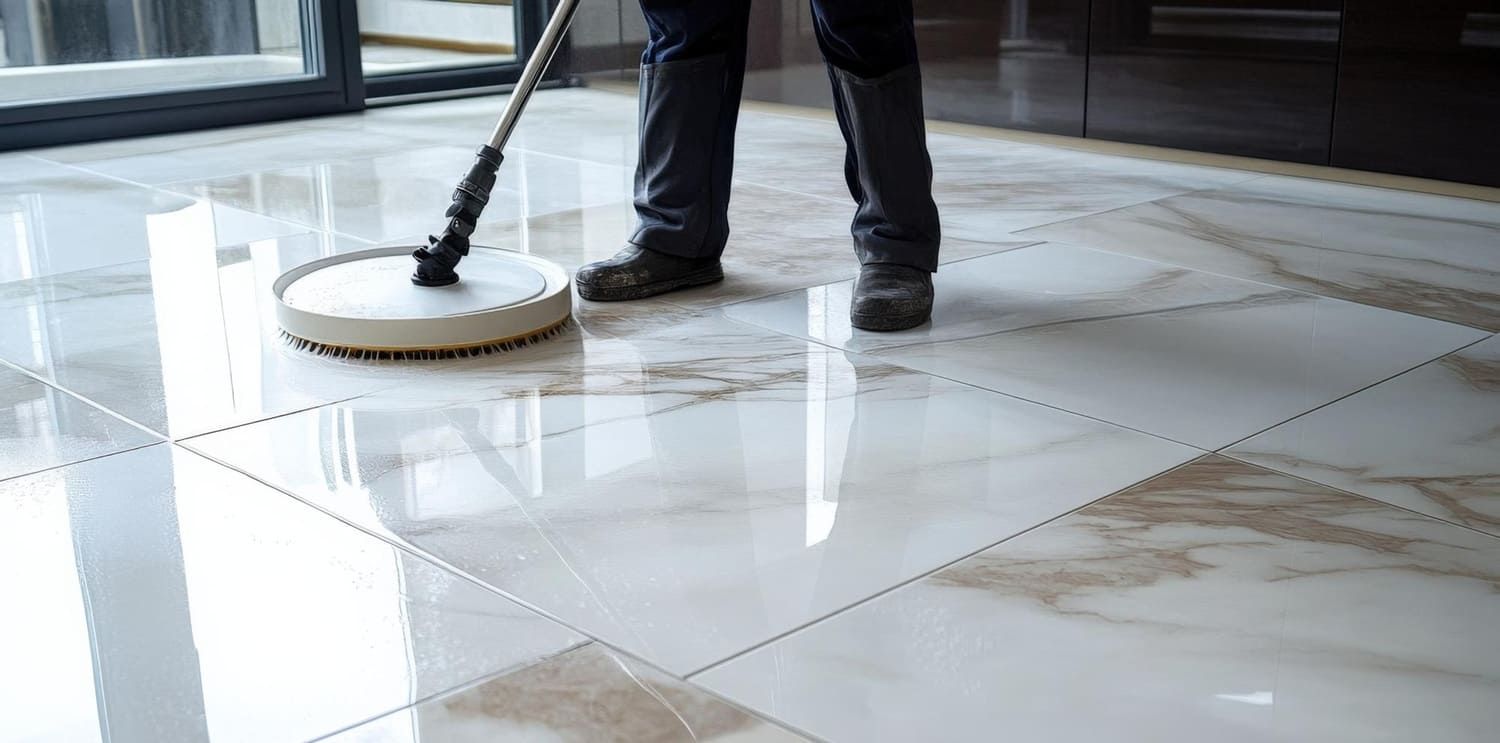
Ignoring Grout Lines
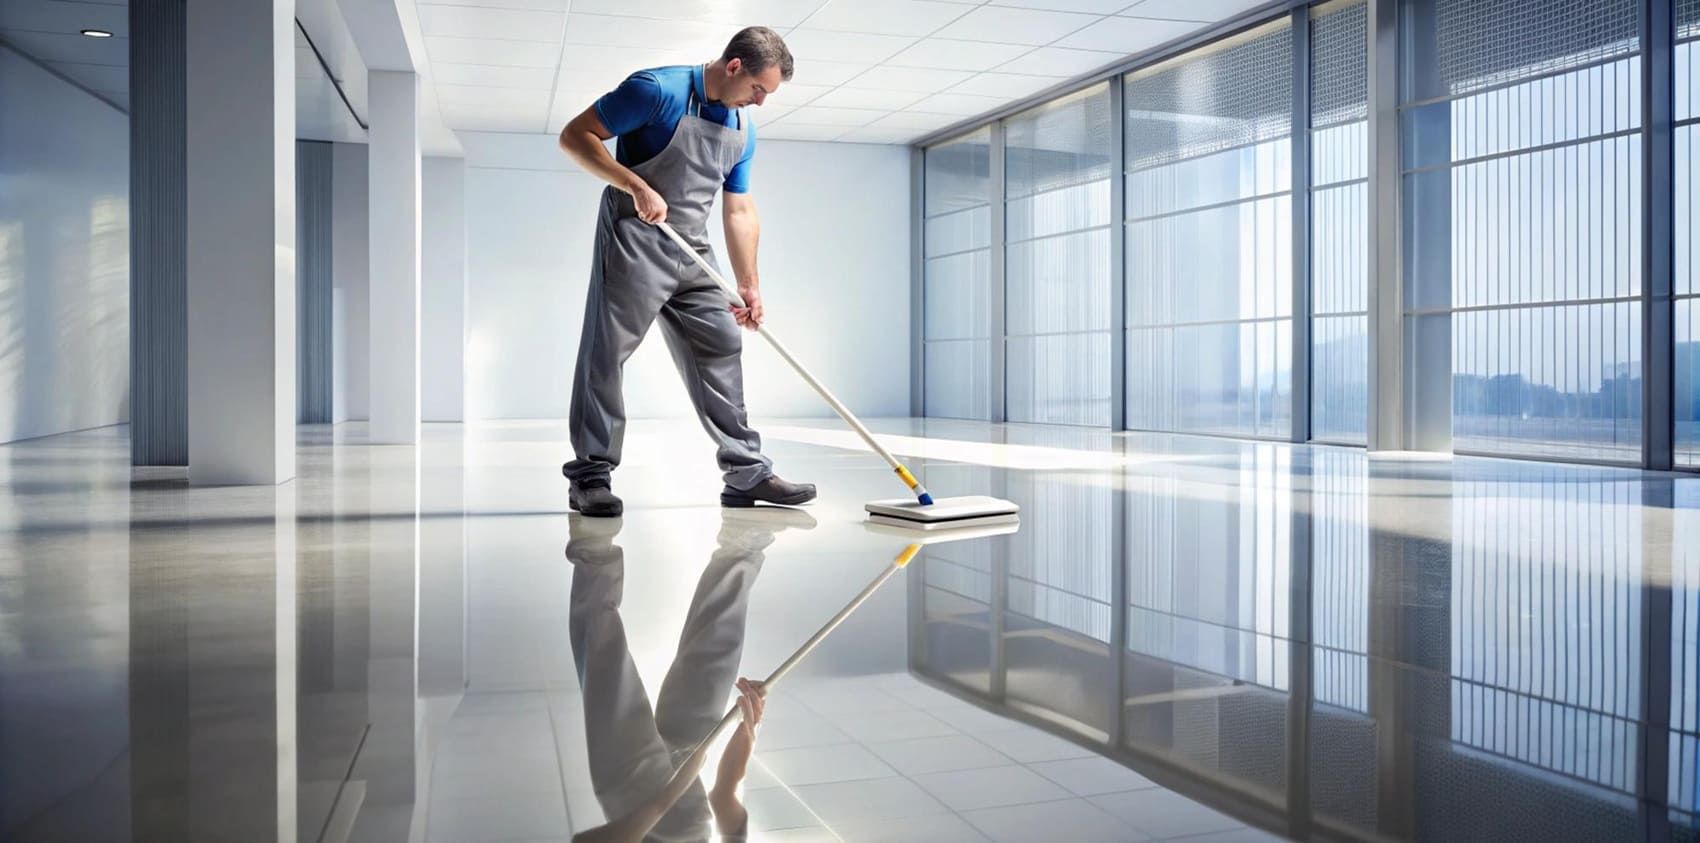
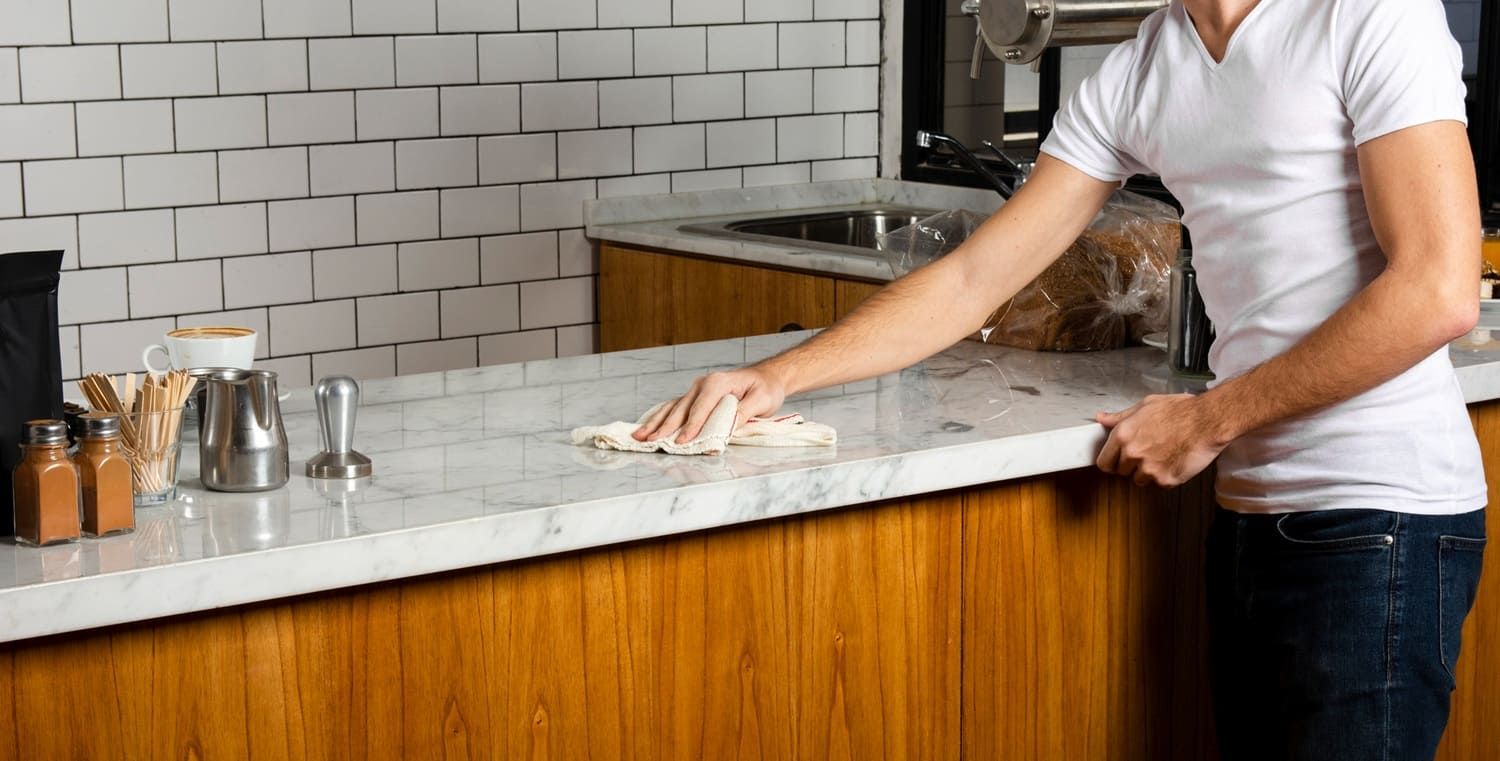
Grout lines play a crucial role in tile restoration, providing both aesthetic and functional benefits. Ignoring grout lines or applying grout incorrectly can result in weak joints and water seepage. Be sure to apply grout evenly and clean off any excess to prevent staining. It's also important to choose the right grout color to complement your tiles and enhance the overall appearance of the space. Regular maintenance of grout lines, including sealing and cleaning, is vital to maintaining the integrity and appearance of your tiles over time.
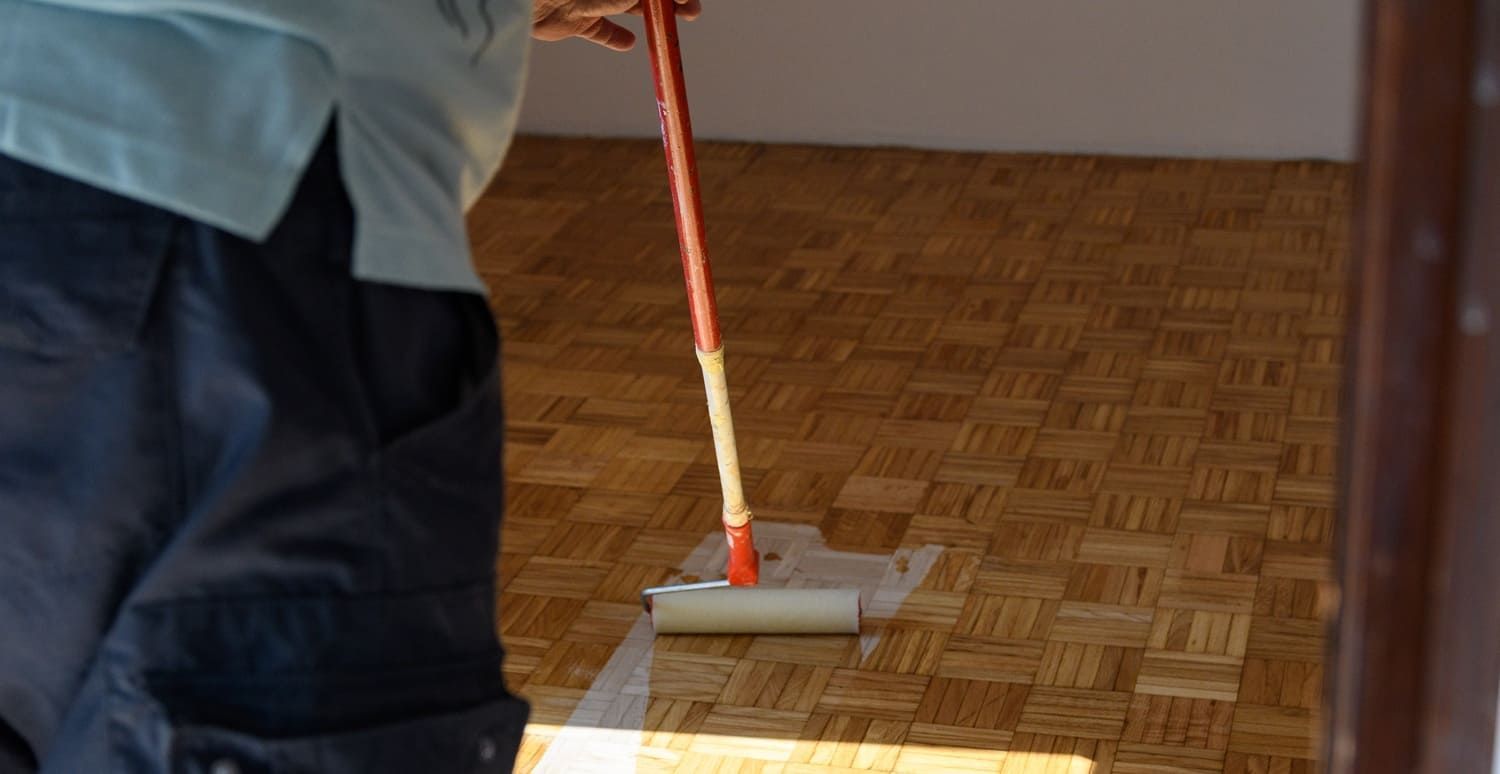
Skipping the Sealant
After tiling, applying a sealant is often overlooked. Sealant helps protect tiles and grout from moisture and stains, extending their lifespan. Failing to apply sealant can lead to damage and discoloration over time, especially in moisture-prone areas like bathrooms and kitchens. By sealing your tiles, you create a barrier against water and other elements, reducing the risk of mold and mildew growth. Investing time in applying a high-quality sealant will ensure your tiles remain vibrant and intact for years to come.
Best Practices for Successful Tile Restoration
To avoid these common pitfalls, consider the following best practices for your DIY tile restoration project:
Plan and Measure Thoroughly
Before starting, plan your project carefully. Measure the area accurately to determine the number of tiles needed and account for any cuts or special layouts. This reduces waste and ensures you have enough materials to complete the project. Taking the time to map out your tiling pattern and layout will also help you visualize the final result and make any necessary adjustments before you begin. A well-thought-out plan can prevent costly mistakes and ensure a smoother installation process.
Invest in Quality Materials
Investing in quality materials can make a significant difference in the outcome of your project. This includes choosing durable tiles, effective adhesive, and reliable tools. High-quality materials not only make the installation process easier but also ensure a longer-lasting finish. Cheap materials may seem like an attractive option initially, but they often lead to problems that require more time and money to fix. Prioritize quality over cost to achieve the best results in your tile restoration project.
Take Your Time
Tile restoration is not a race. Take your time to ensure each step is completed correctly. Rushing can lead to mistakes and a less-than-perfect finish. Allow proper drying times for adhesives and grout, and don't skip any steps to save time. Carefully inspecting your work as you go can help you catch errors early and make corrections as needed. Patience and attention to detail are key to achieving a professional and satisfying outcome.
Seek Expert Advice When Needed
If you're unsure about any aspect of the project, don't hesitate to seek expert advice. Many home improvement stores offer workshops or have knowledgeable staff who can provide guidance. Additionally, online forums and DIY communities can be valuable resources. Learning from others' experiences can help you avoid common pitfalls and gain confidence in your abilities. Don't be afraid to ask questions and gather as much information as possible to ensure the success of your tile restoration project.
Conclusion
DIY tile restoration can transform your space and provide a sense of accomplishment. However, avoiding common mistakes is key to achieving a professional finish. By understanding the basics, preparing thoroughly, and following best practices, you can tackle your tile restoration project with confidence and success. Remember, patience and attention to detail are your best allies in achieving beautiful, long-lasting results. Happy tiling! Embrace the learning process and enjoy the satisfaction of creating a refreshed and stylish space that reflects your personal taste and effort.
For expert help or a second opinion, Desert Tile & Grout Restore is your trusted source for the Best Stone, Tile, and Floor Refinishing & Restoration in Glendale, Scottsdale, Phoenix, and across Maricopa County. Contact us today for a free estimate!
FAQs: Avoiding Costly Errors in DIY Tile Restoration Projects
What are the most common mistakes in DIY tile restoration?
Some of the most frequent issues include skipping proper surface preparation, using the wrong cleaning products, uneven grout application, and not sealing tiles when necessary. These mistakes can lead to poor results and shorten the life of the restoration.
Can I restore tile without replacing the grout?
Yes, you can clean or recolor existing grout using special grout pens or sealers, but ignoring deteriorated grout is a mistake. Failing to replace cracked or missing grout can lead to water damage beneath the tile.
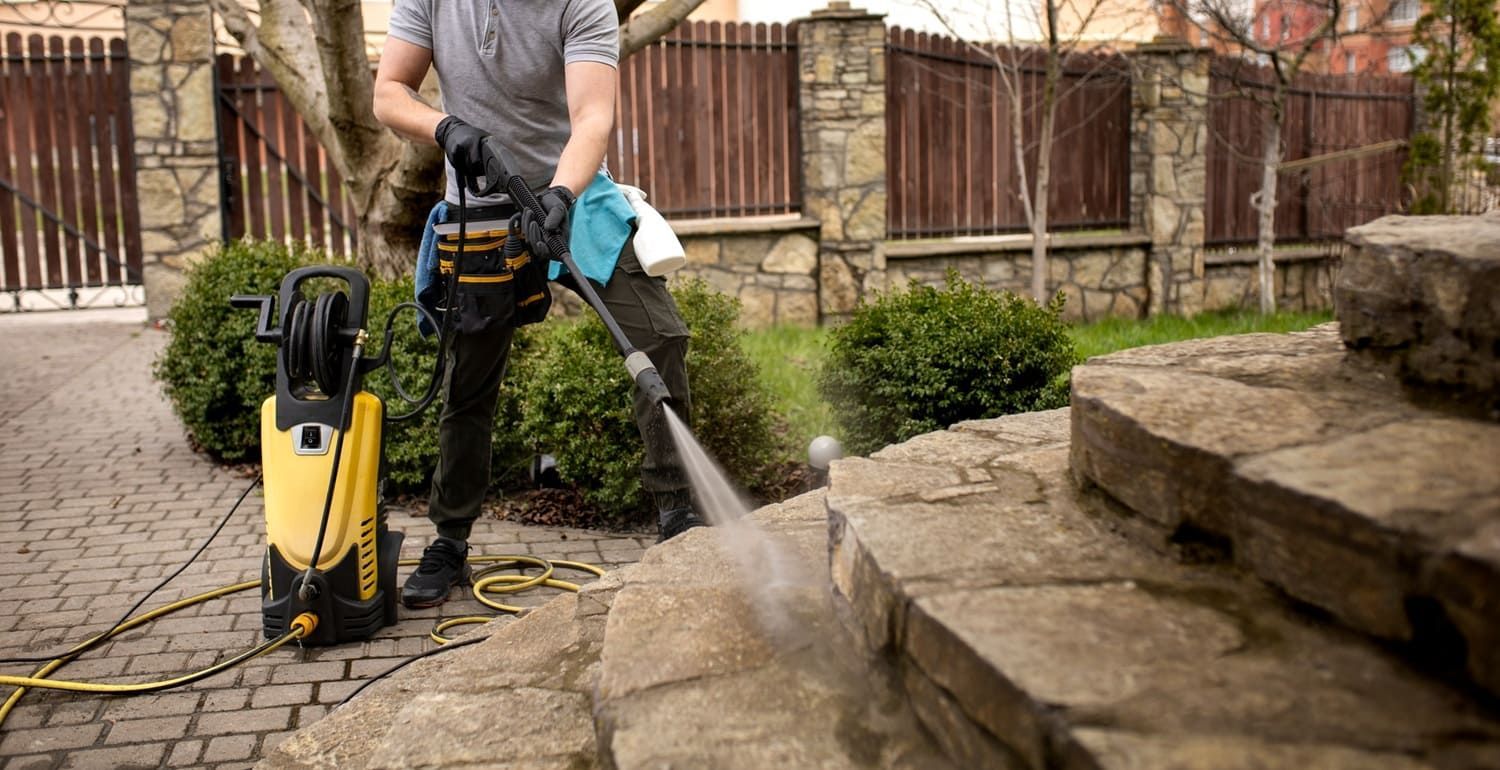
Is it okay to use bleach or acidic cleaners on tile?
No, harsh chemicals like bleach or acids can damage certain tile surfaces and grout. It’s a common mistake to over-clean with strong products, which may lead to discoloration or erosion over time.
Why does my tile restoration look streaky or dull after cleaning?
This often results from using too much cleaning product or not rinsing thoroughly. Soap residue, hard water, or the wrong type of cleaner can leave streaks or a cloudy finish on tiles.
How do I prevent cracking during tile repair or replacement?
One major DIY mistake is rushing the process or using the wrong tools. Applying too much force, skipping back-buttering, or using incorrect adhesives can cause cracks during or after installation.
Is sealing tiles always necessary after restoration?
Not all tiles need sealing, but it’s a mistake to skip this step if your tile is porous (like natural stone) or if the grout is unsealed. Sealers protect against stains, moisture, and future damage.
Desert Tile & Grout Restore's Blog